How to Prepare Your Roof for Solar Panel Installation: A Homeowner’s Guide
Solar panels can cut your electricity bill dramatically, but the panels themselves are only half the equation. The roof underneath them determines how well the system performs, how long it lasts, and how much the installation ends up costing. Skipping roof prep is one of the most common (and expensive) mistakes homeowners make when going solar.
Before a single panel goes up, your roof needs to pass a few checks: structural condition, remaining lifespan, orientation, and slope. Here’s what actually matters and how to get your roof ready.
Start With a Roof Health Inspection
Solar panels are typically rated to last 25 to 30 years, and most installers won’t recommend mounting a system on a roof that won’t outlast it. If your roof is already 15 to 20 years old, or shows signs of wear, it’s worth having a licensed roofer inspect it before you commit to solar.
Look for these red flags during a walkthrough or professional inspection:
- Curling, cracked, or missing shingles
- Soft spots or sagging in the decking
- Water stains on the ceiling below the attic
- Granule buildup in gutters (a sign of shingle deterioration)
- Visible mold or moss growth in shaded areas
If your roof needs significant repair or replacement within the next five to ten years, most solar contractors will recommend handling that first. Removing and reinstalling panels later to fix a roof problem adds unnecessary labor costs.
See also: Understanding the Internet of Things Technology
Understand Your Roof’s Structural Load Capacity
A standard residential roof is built to handle its own weight plus typical loads like snow and wind. Solar panels, mounting hardware, and racking add extra weight, generally between 2 and 4 pounds per square foot. That’s manageable for most modern roofs, but older homes or roofs with existing structural issues may need reinforcement.
A structural engineer or your solar installer can run the numbers based on your rafters, trusses, and local building code requirements. This step matters more in regions with heavy snow loads, where the combined weight of snow and panels can be significant.
Check Roof Orientation and Shading
Panel output depends heavily on how much direct sunlight the roof receives. South-facing roofs in the Northern Hemisphere generally produce the most energy, though east and west-facing roofs can still work well depending on your latitude and electricity usage patterns.
Shading is just as important as orientation. Even partial shade on a portion of a panel can reduce output for the entire string, depending on the inverter setup. Walk your property at different times of day and note where trees, chimneys, or neighboring structures cast shadows across the roof.
Calculate Roof Pitch Before Choosing Mounting Hardware
Roof slope, or pitch, affects both energy production and the type of mounting hardware an installer will use. Steeper roofs shed water and snow more effectively but can make installation more labor-intensive. Flatter roofs are easier to work on but may need tilted racking to angle panels toward the sun for optimal output.
Getting the pitch measurement right also affects how mounting brackets attach to your roofline and how much clearance panels need for proper drainage. If you want to work through the measurement yourself before your installer’s site visit, this guide on how to calculate roof pitch walks through the process step by step, including the tools you’ll need and how pitch is expressed in roofing terms.
Knowing your pitch in advance also helps you have a more informed conversation with contractors about racking options and expected system output.
Confirm Roof Material Compatibility
Not all roofing materials handle solar mounting the same way. Asphalt shingles are the most common and generally the easiest to work with, since most racking systems are designed around them. Metal roofing, tile, and flat membrane roofs each require different attachment methods and hardware.
If you’re planning a roof replacement anyway, ask your roofer which materials pair best with solar installation in your region. Standing seam metal roofs, for example, often allow clamp-based mounting that doesn’t require penetrating the roof surface at all, which can simplify both installation and long-term maintenance.
Clear the Work Area and Plan Access Points
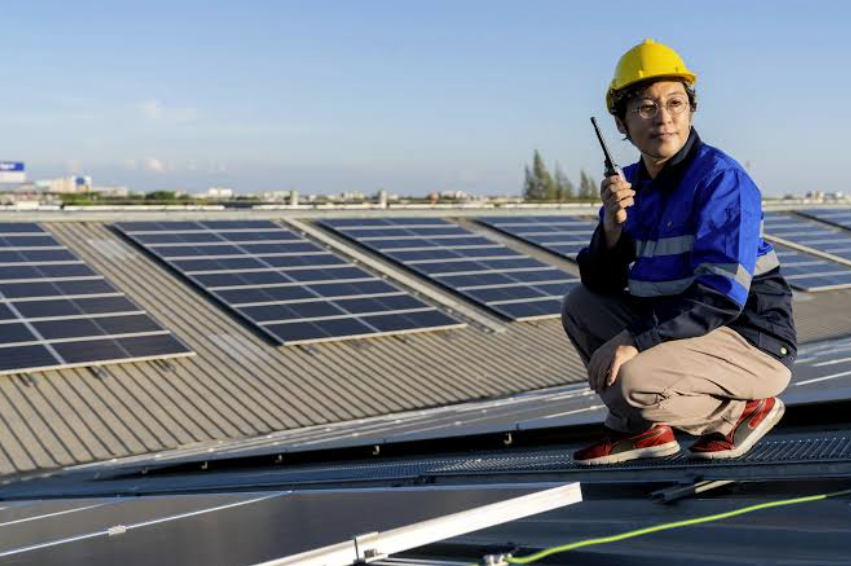
Once the technical assessment is done, there’s a practical side to roof prep. Installers need clear access to the roof and attic space, so trim back overhanging branches, secure loose gutters, and make sure there’s a safe path for ladders and equipment.
If your attic will house the inverter or electrical conduit, clear out stored items and confirm there’s enough space for the installer to route wiring without obstruction.
Time the Installation Around Weather
Solar installation typically takes one to three days depending on system size and roof complexity. Scheduling around dry, mild weather reduces delays and makes the job safer for the installation crew. In regions with distinct rainy or snowy seasons, most installers recommend booking work during the shoulder seasons when weather is more predictable.
Final Thoughts
A little preparation before installation day pays off in system performance and roof longevity. Getting your roof inspected, understanding its load capacity, checking orientation and shading, confirming pitch and material compatibility, and clearing the work site all help ensure your solar investment performs as intended for decades to come.
Talk to your installer early about any roof concerns rather than waiting until the day of installation. A roof that’s properly prepped is one less thing to worry about once your panels are up and generating power.